How to redirect (301) HTTP to HTTPS in Google Cloud Platform using Load Balancer
Prerequisites
Let’s assume that you:
- are using the Google Cloud Platform (GCP)
- have a static website hosted in a public Google Cloud Storage bucket;
- have a dedicated Load Balancer that serves your HTTPS traffic;
- encounter the annoying
Error: 404 Not Found — The requested URL was not found on this erverwhen trying to navigate to your static website using HTTP (instead of HTTPS)

So, you want to redirect automatically your HTTP traffic to HTTPS and say goodbye to the 404 error.
No problem, here are all the steps that you need to follow in order to implement the 301 HTTP redirect.
Create a new Load Balancer to redirect the HTTP traffic to HTTPS
First of all, go to your load balancing page in GCP: Network services > Load Balancing.

Click on the +CREATE LOAD BALANCER button and leave the default options for Internet facing or internal only and for Global or regional sections, then click on the CONTINUE button.

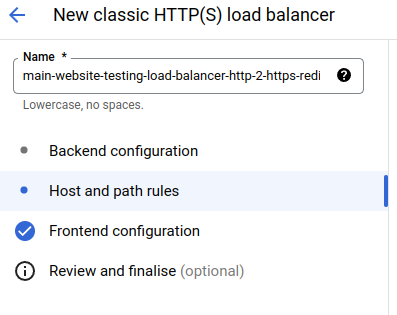
Add a meaningful name to the new load balancer and skip the first step Backend configuration (because it’s not necessary in our case), going directly to the second step Host and path rules.
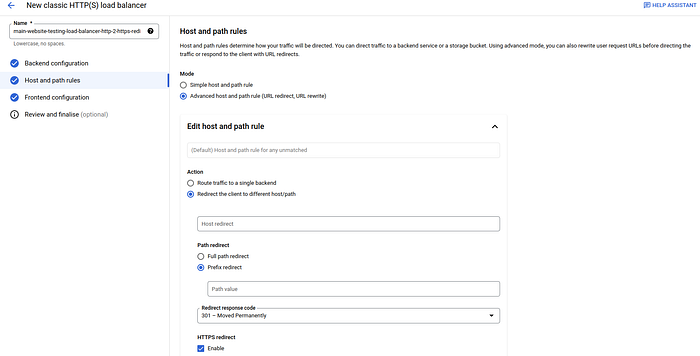
In the Mode section select the Advanced host and path rule (URL redirect, URL rewrite) option and click on the dropdown:
- in the
Actionsection, select theRedirect the client to different host/pathoption - in the
Path redirectsection, select the optionPrefix redirect - leave blank
Path value - in the
Redirect response codesection, be sure that the value is set to301 — Moved Permanently - in the
HTTPS redirectsection, selectEnableoption by ticking the box - click on the
Donebutton
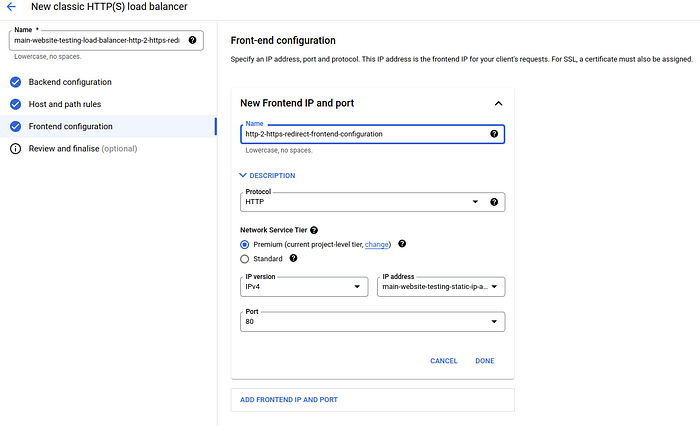
Move into the third step Frontend configuration and:
- add a meaningful name to the configuration
- leave as default all other fields
- in the
IP addressdropdown, select the static IP address that you already generated with the existing HTTPS load balancer - click on the
Donebutton
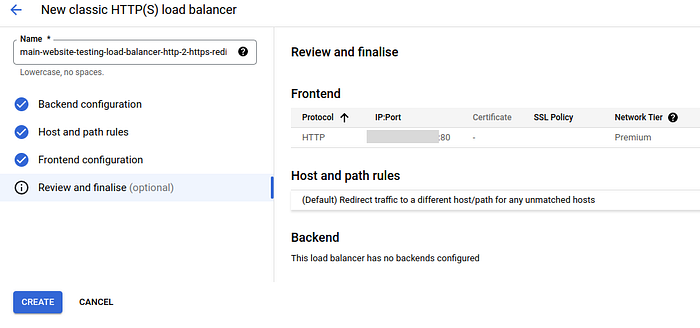
Optional: you can go to the fourth step Review and finalise to check the settings.
Then you click on Create.
Test the new redirect
Good, you finally created the new load balancer!
Now you just have to wait some minutes (time can vary due to the DNS propagation) before seeing your automatically 301 redirect in action.
To check that the redirect works properly, try to navigate to your static website using the HTTP protocol and an incognito window in your browser.
The expected behaviour is that if you type:
http://yourstaticwebsite.comyou are automatically redirected to
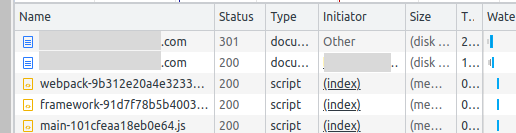
https://yourstaticwebsite.comIn the Google Chrome browser’s Network tab you can see the 301 redirect.
Thank you for reading, I hope this article was useful.
If you like it, please give it a clap and share it with your network.
References
- official Google Cloud Platform documentation here
- nice video (although the Google Cloud Platform has a different UI now) here
- if you do not have an HTTPS load balancer already in place and you need to create a new HTTPS load balancer, you can follow this official doc
